
In today’s visually-driven world, taking professional-quality photos can make a significant difference, whether for personal memories, social media, or business purposes.
While professional photography can seem daunting, it is possible to achieve stunning results without overwhelming yourself. All you need is a good set of tools, like those where you can change image size online, or change various details.
This guide outlines practical tips and techniques to help you make your photos look professional, all while keeping your sanity intact.
Understanding the Basics of Photography
Before diving into advanced techniques, it’s essential to understand the basic principles of photography. These fundamentals will serve as the foundation for all your photographic endeavors.
- Composition ─ Composition refers to how the elements within a photo are arranged. Key rules include the rule of thirds, leading lines, and symmetry. The rule of thirds involves dividing your frame into nine equal parts and placing the subject along these lines or at their intersections.
- Lighting ─ Good lighting is crucial for professional-looking photos. Natural light, especially during the golden hour (the hour after sunrise and before sunset), provides soft, flattering light. Avoid harsh midday sun, which can create unappealing shadows.
- Focus ─ Ensuring your subject is in sharp focus is essential. Use your camera’s autofocus feature, or manually adjust the focus for precision. For portraits, focus on the eyes; for landscapes, ensure a deep depth of field to keep everything sharp.
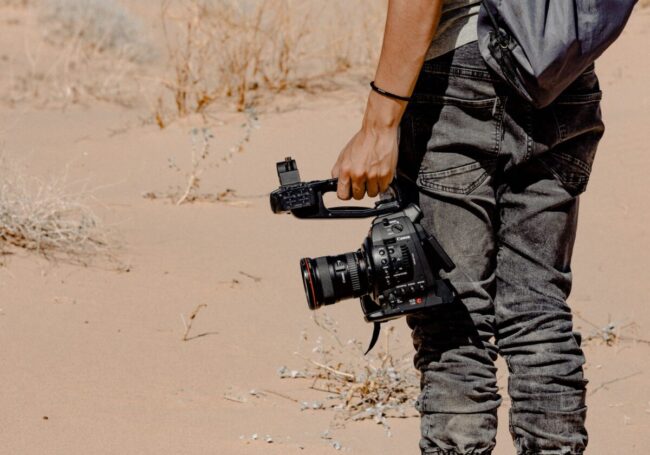
Equipment Essentials
You don’t need the most expensive gear to take professional-looking photos. Here are some equipment essentials that can help improve your photography:
- Camera ─ While a DSLR or mirrorless camera offers great flexibility and image quality, many modern smartphones have excellent cameras that can produce professional results.
- Lenses ─ If you’re using a camera with interchangeable lenses, investing in a prime lens (like a 50mm f/1.8) can significantly enhance your photos. Prime lenses often provide sharper images and better low-light performance.
- Tripod ─ A sturdy tripod is invaluable for keeping your camera steady, especially in low-light situations or when shooting long exposures.
- External flash ─ An external flash can help control lighting, reduce shadows, and improve indoor photography. Use a diffuser to soften the light for a more natural look.
Techniques for Professional-Looking Photos
Now that you have the basics down, let’s explore some techniques that will elevate your photos to a professional level.
Mastering Exposure
Exposure determines how light or dark your photo will appear. It is controlled by three settings: aperture, shutter speed, and ISO.
- Aperture ─ This controls the amount of light entering the lens. A wide aperture (low f-number) creates a shallow depth of field, perfect for portraits with a blurred background. A narrow aperture (high f-number) keeps more of the scene in focus, ideal for landscapes.
- Shutter speed ─ This dictates how long your camera’s sensor is exposed to light. Fast shutter speeds freeze motion, while slow shutter speeds can create a sense of movement (like blurred water).
- ISO ─ This controls the camera’s sensitivity to light. Lower ISO settings produce cleaner images with less noise, while higher settings are useful in low light but can introduce graininess.
Enhancing Composition
- Leading lines ─ Use natural lines in your environment (like roads, rivers, or architectural features) to guide the viewer’s eye toward the main subject.
- Framing ─ Use elements within the scene to create a frame around your subject. This adds depth and draws attention to the focal point.
- Negative space ─ Incorporate negative space (empty areas) to make your subject stand out. This technique can create a minimalist and striking composition.
Utilizing Natural Light
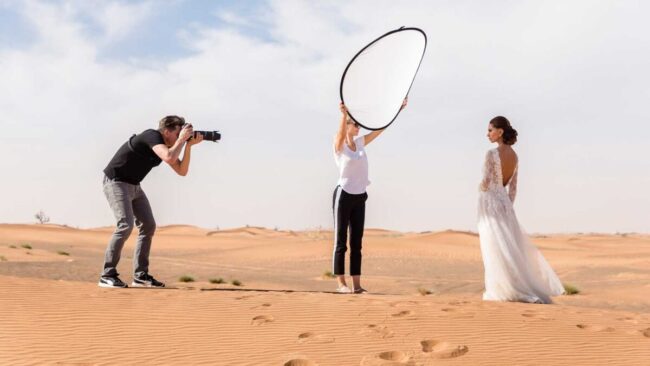
Natural light is one of the most accessible and flattering light sources for photography.
- Golden hour ─ As mentioned earlier, the golden hour provides soft, warm light that enhances the appearance of your subjects.
- Overcast days ─ Cloudy weather creates diffused light, which is excellent for portraits as it reduces harsh shadows.
- Window light ─ For indoor photography, position your subject near a window to take advantage of the soft, natural light. Use a reflector to bounce light back onto the subject’s face.
Post-Processing Tips
Post-processing can transform a good photo into a great one. Here are some tips for editing your photos without going overboard:
- Adjust exposure and contrast ─ Correct the exposure to ensure your photo is neither too dark nor too bright. Increase contrast to make the colors pop and add depth.
- Crop and straighten ─ Crop your photo to improve composition and remove distractions. Straighten any tilted horizons or lines.
- Sharpening ─ Apply a touch of sharpening to enhance details, but avoid over-sharpening, which can create unnatural edges.
- Color correction ─ Adjust the white balance to ensure accurate colors. Experiment with saturation and vibrance to enhance the photo without making it look oversaturated.
- Use presets ─ If you’re new to editing, start with presets or filters. They provide a consistent look and can save time. As you gain experience, you can create your own custom presets.
Practical Tips for Different Photography Genres
Different genres of photography require specific approaches. Here are some practical tips for popular types of photography:
Portrait Photography
- Focus on the eyes ─ Ensure the eyes are in sharp focus, as they are the focal point of most portraits.
- Use a wide aperture ─ A wide aperture (e.g., f/1.8) creates a beautiful background blur (bokeh), making the subject stand out.
- Interact with your subject ─ Make your subject feel comfortable and relaxed to capture natural expressions.
Landscape Photography
- Use a small aperture ─ A narrow aperture (e.g., f/11) ensures a deep depth of field, keeping the entire scene in focus.
- Include a foreground element ─ Adding an interesting element in the foreground creates depth and draws the viewer into the scene.
- Use a tripod ─ A tripod is essential for stability, especially when shooting in low light or using slow shutter speeds.
Product Photography
- Use a clean background ─ A plain, uncluttered background ensures the focus remains on the product.
- Diffuse the light ─ Use soft, diffused lighting to avoid harsh shadows and reflections.
- Highlight details ─ Capture close-up shots to showcase the product’s details and features.
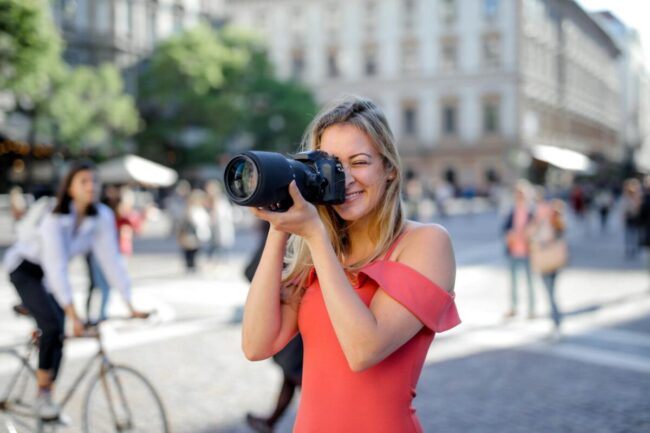
Street Photography
- Be discreet ─ Blend into your surroundings to capture candid moments without drawing attention.
- Look for stories ─ Capture scenes that tell a story or convey an emotion.
- Experiment with angles ─ Shoot from different perspectives to add interest to your photos.
Conclusion
Achieving professional-looking photos doesn’t require expensive gear or extensive training. By understanding the basics of photography, mastering exposure, enhancing composition, utilizing natural light, and applying post-processing techniques, you can significantly improve your photography skills.
Remember to practice regularly, experiment with different styles, and most importantly, enjoy the creative process. With these tips, you can capture stunning, professional-quality photos without losing your mind.